(Ongoing School Relationship) Barker
(Ongoing School Relationship) Barker
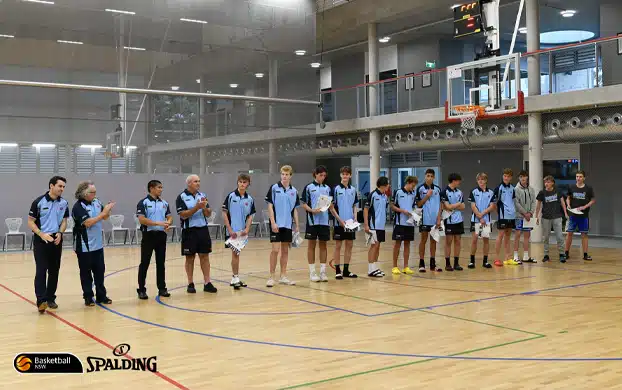
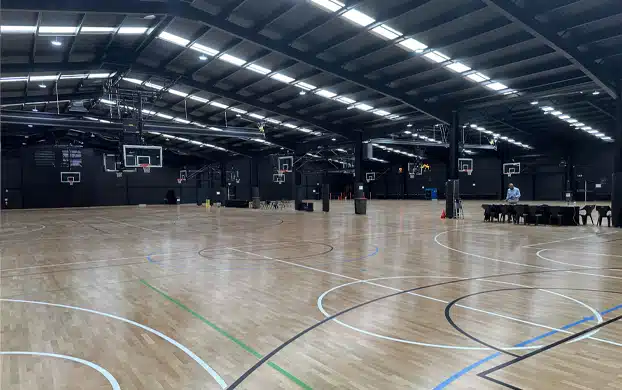
Barker College is a prestigious K-12 school in Sydney’s northern suburbs.
Roger here from RMA Sport—just here to give you the top 5 things to look for when specifying roof-mounted basketball.
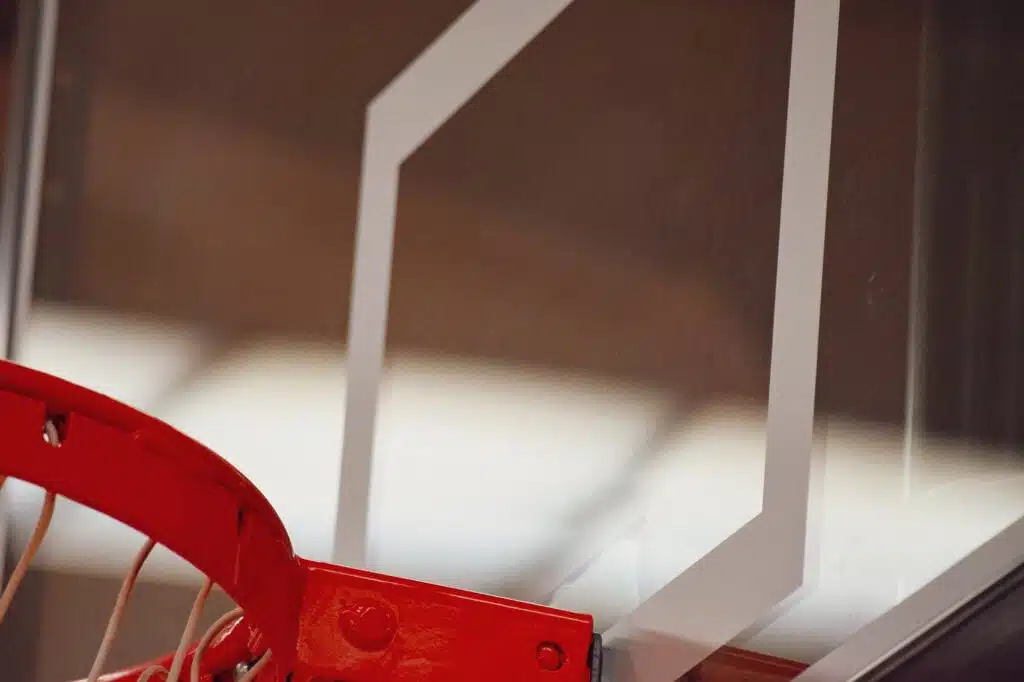
So the first thing is to make sure there are no obstructions in front of the backboard. That might be some steel structure or a cable which is in front of the backboard. We want to eliminate that so there’s nothing there for the ball to hit. We’re trying to achieve a minimum clearance above the court of 7m. It’s not always possible, but that’s what they’re trying to achieve with rule 11.4, so if you can eliminate obstructions that’s a great start.
The next thing to look for is a locking arm to reduce the pitch. Now the pitch is the backwards and forwards movement—so if you imagine someone doing a slam dunk, when they put that force on the backboard, it wants to shake back and forth a little bit. All the FIBA certified systems have a locking arm to reduce that pitch, and that’s something that’s really important, and good to look for.
Another thing is the wider the foundation you can get for the system, the better it will be. This is to reduce the yaw. So if you can imagine the yaw is the side to side movement, and if someone does a slam dunk the system can twist. So if you have a wide foundation, that’s gonna reduce that. I explain this by suggesting if you’re standing with you’re feet together and somebody gives you a bump, you’re quite unstable—you’re more likely to tumble over. If you separate your feet, you’re gonna have a much wider base and so when somebody gives you a nudge you have the ability to resist. What we’re looking for is to comply with rule 1.4.2, which is the backboard reverberation. So if you have a locking arm and a wide foundation, then you’re much more likely to achieve that.

The next we’re looking for is a positive-locking goal; or a posi-lock goal. So spring-loaded goals by themselves don’t actually comply to the rules. What you’re looking for is a goal that releases only after 82kg of force is put onto the rim. This means the ball can rebound as it normally would, and it’s only when somebody is hanging off that rim that you start to get that movement from the spring. That’s actually a requirement in the higher levels of competition under rule 1.2.7, and the other thing to look for of course is the tubes for the net attachment instead of the hooks. The hooks can break, and so the tubes are much safer as they’re not gonna cause injury. Again for higher level competition, under rule 1.2.2, that’s a requirement.
The next thing to look for is the foundation. So the foundation is what you are attaching the system up in the roof to. So try and avoid attaching to purlins if you possibly can, because purlins are light and they flex. Always look to try and attach to a dedicated beam, which is designed for that to minimise the movement. And try and make sure the attachment height is under 10m; that’s the maximum allowed under rule 11.4.
Last thing of course is always look for FIBA certification. FIBA is the governing body, they make the rules and they have the most robust testing systems out there in terms of basketball. They’re all done in independent laboratories, and they’re there to make sure you get a system which does comply to the rules. You can’t say that you comply if you self-test—it has to be independently tested in a FIBA laboratory. And this is to help ensure that everyone gets really good, consistent equipment. Doesn’t cost any more to get a certified system but you will get a better product as a result.
So I hope that helps, and if you have any questions please feel free to give our team a call.
Barker College is a prestigious K-12 school in Sydney’s northern suburbs.
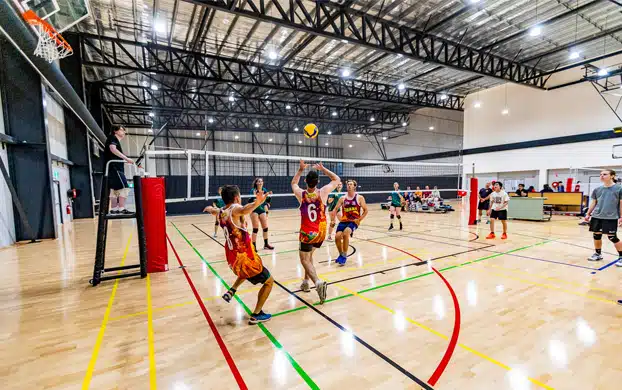
RMA was excited to help with the establishment of the new facility for the Camellia Wolves.

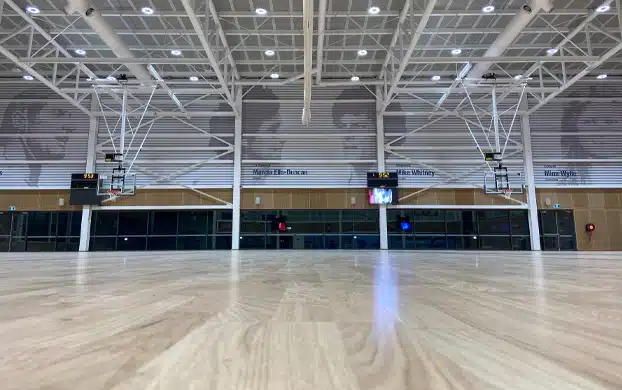
Over the last 20+ years, RMA has been a constant support for the AIS, home if Australia’s elite sporting training facilities.
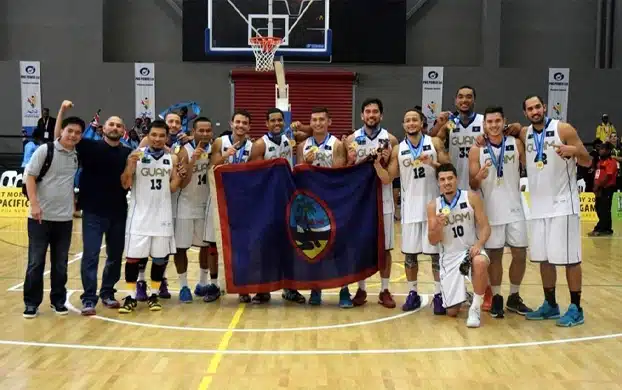
Over the years, RMA has been involved in 5 Pacific Games, the event that connects the best sports people from Pacific island nations together in a festival of sport.
RMA’s involvement in new builds starts early, in quantity surveying or early design. We work with the designers and other stakeholders to determine the profile of the new facility.
RMA works hard to support local government authorities with all their indoor and outdoor sports infrastructure requirements.
Over the years RMA has worked with hundreds of architects on hundreds of projects all across the Pacific.